- Home-
- Minecraft-
- Mods for Minecraft-
- Iris Shaders Mod (1.20.4) - Optifine for fabrics, shader cores

Iris Shaders Mod (1.20.4) - Optifine for fabrics, shader cores


About This Mod
Iris Shaders Mod (1.20.4) is a modern shader mod for Minecraft, compatible with existing OptiFine shader packs.
FEATURES.
Performance: Iris takes full advantage of your graphics card's capabilities in combination with optimization mods such as Sodium.
Correctness: Iris strives for as hassle-free implementation as possible.
Mod Compatibility: Iris should make every effort to remain compatible with mods.
Mod Compatibility: Iris should make every effort to remain mod compatible.
p>
Backward Compatibility: All existing ShadersMod / OptiFine shader packs should work as is in Iris, without any modifications.
Vanilla + Sodium + Iris Shaders: Iris offers something that was not present in selected fabric mods: support for existing custom shaders based on both Sodium and Vanilla. Thanks to the shader stack, you get incredible frame rates without the need for expensive hardware or experimental game mods. The extra processing done by Iris only reduces performance by 10-15%, and even with Na installed, Vanilla's performance is much better. Performance, even with Na installed. This is directly reflected in the shaders: most common shaders run reliably at 60 frames per second or higher, even on 5-6 year old hardware.
How to use.
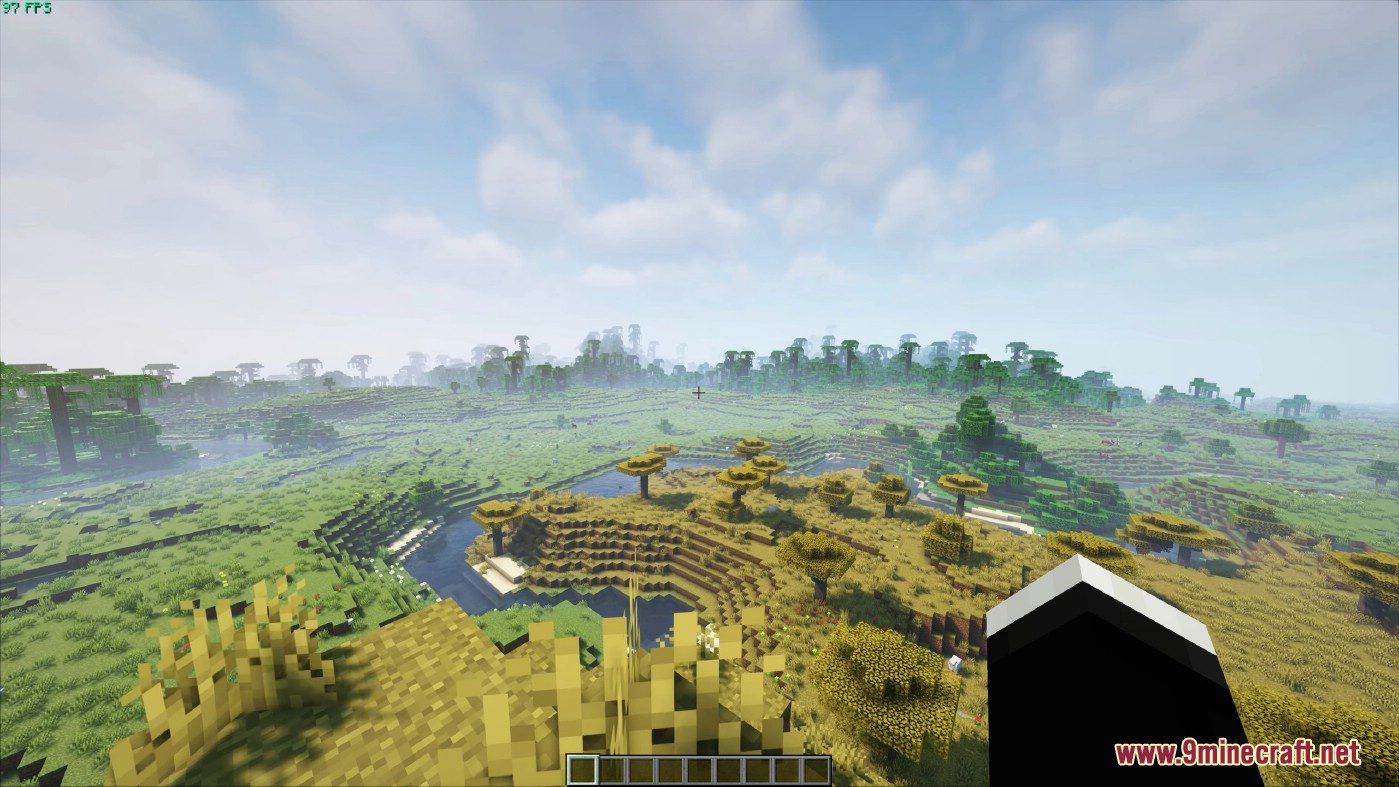
After installing Iris, make sure that it is set correctly in the video settings in Minecraft. The Video Settings menu should look like this:
You will notice that the menu has completely changed. This is a rework of the video settings menu provided by Sodium: the General and Quality tabs have all the usual settings for vanilla Minecraft and can be changed to your liking; The settings on the "Performance" and "Advanced" tabs should not be changed most.
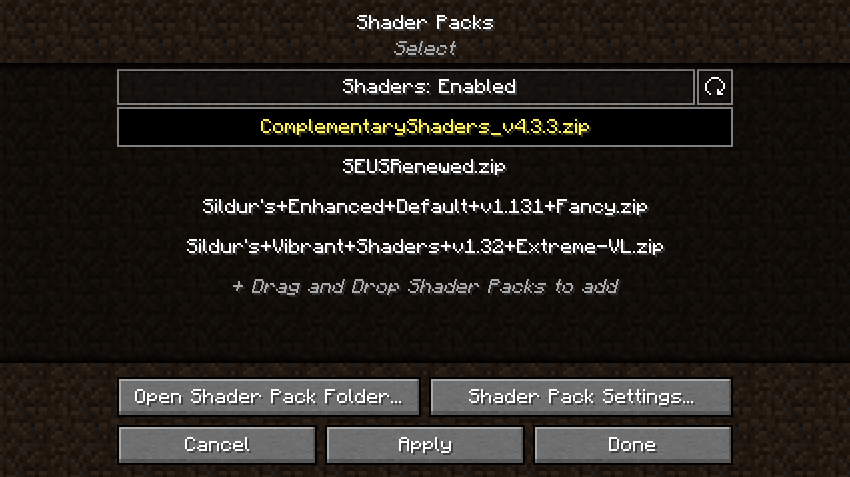
Shader packs are managed on the Shader Pack tab. The shader pack menu looks like this:
This menu displays the shader packs in the shader pack folder. Drag and drop shader packs into this menu or click on the "Open Shader Pack Folder..." button to add a new shader pack to the open folder. After adding the shader pack to the shader packs folder, click the Refresh button on the right top corner to refresh the list of shaders. To select a shader pack, click on "Shaders": Click on "Disabled" to enable it. Then click on the shader pack you want to enable to select it and click the Apply button to activate the selected shader.
In the example below, "Additional Shaders" have been successfully enabled. Note that the enabled shader font has changed to yellow - this is used to indicate that the shader is indeed enabled:
< p>After activating the selected shader, click on the "Shader Pack Settings..." button to configure the shader.The shader pack settings menu looks different for each shader because the available options are determined by the shader itself. For example, if the completion shader is enabled, the menu looks like thisHere you can edit the shader package options provided by the shader itself. The options in the menu should be exactly the same as those you get when loading the shader into Optifine. However, there are a few additional functions in the top right corner of the menu:
Import Button: Import Button: Loads a shader configuration file (.txt format) into the currently enabled shader. When you click this button you will be prompted to select a file. This is useful for loading custom shader settings found on the Internet.
Export Button: Exports the active shader settings to a .txt file. Useful for sharing custom shader settings.
Reset Button: Hold LEFT SHIFT and press this button to restore the default settings for the selected shader.
When you are done configuring the shader, Click the Apply button to apply the changes. You will now see a "Shader Pack List..." button to return to the list of shader packs, or click the "Done" button to return to the video settings menu.
You can now load the world and play Minecraft using shaders. During gameplay, keyboard shortcuts are available to quickly control shaders:
Pressing "O" opens the shader pack menu with a transparent background, allowing you to see changes to shader settings in real time.
Pressing " K" turns shaders on and off.
Pressing "R" reloads the currently active shader package.
These keyboard shortcuts can be remapped to other keys of your choice in the Controls menu.
These shortcuts can be reassigned to other keys of your choice in the Controls menu.
p>
Installation instructions.
Download the Iris Shaders Mod from the website
Save the file to any location on your computer and run it. Java is required to run the installer. If you don't have Java installed on your system, download and install it from Adoptium Java downloads; If you are using Windows and cannot run the installer, try using Jarfix.
The following window should open:
From the Select Game Version drop-down menu, select the version of Minecraft you need.
Click the Install button.
If you receive the following message If you are updating to a new launcher, select Microsoft Store / Xbox. Otherwise, select "Standalone (Win32)".
You should see an "Installation successful" message next to the progress bar: close the installer.
Next, open the Minecraft launcher and you will see the following profile (version numbers may vary): To launch Iris Shaders, select this profile and launch the game.


Similar Mods/Addons

Galath Mod (1.12.2) - spirit coins1.12.2Mods for MinecraftMinecraft
Galath Mod (1.12.2) introduces an intriguing new character to the Nether, bringing an exciting twist... 8.5K19
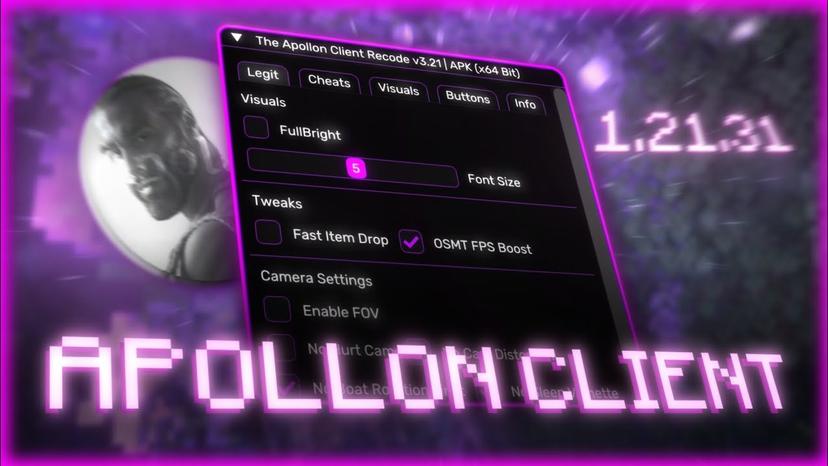
Apollon Client (1.21) – MCPE/BedrockallMods for MinecraftMinecraft
The Apollon client (version 1.21) is equipped with a set of useful tools, which include Killaura for...20.6K06
Dinkle's Iron Man comic book hero pack (Fisk Heroes).1.7.10Mods for MinecraftMinecraft
|Team List -Extremis -Breeding Edge -Prime...48915
Five Nights in Freddie's Pack in Zombotani | FNAF Forge1.19.2HardcoreMinecraft
This is the ultimate Five Nights at Freddy's bundle. It contains 13 Fnaf mods, including content fro...56905
Mod: Warden Equipment and Sonic Staff1.20.40WeaponMinecraft
Warden Armour + Echo Tool and Staff gives you the same abilities as the Guardians in Minecraft PE....13404
Mod: Simple magic wands1.20.40WeaponMinecraft
Simple Wands brings magic wands to Minecraft PE. This plugin can be used for other builds. Each stic...5203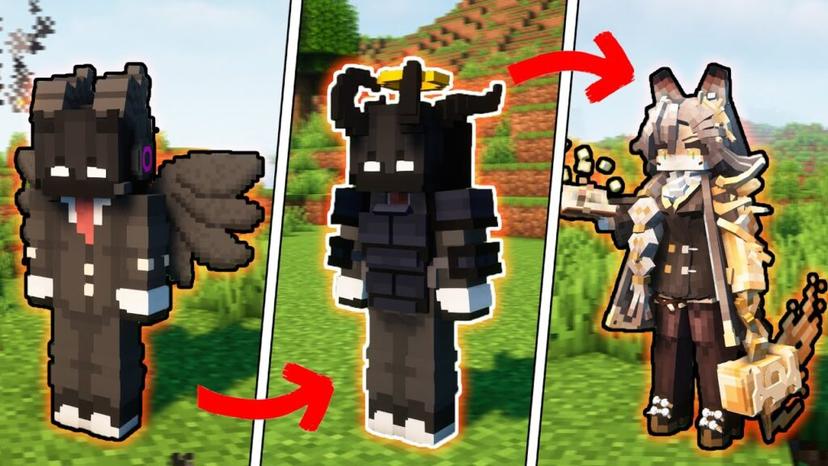
More Skins Addon (1.21) – MCPE/Bedrock ModallMods for MinecraftMinecraft
Addon More Skins (1.21) is an add-on for Minecraft Bedrock Edition that provides the ability to deep...4K03
MVS - Moog's Voyager Structures1.20.40BuildingsMinecraft
Sometimes traveling the world can bring unexpected surprises. Especially if you install the MVS mod...1112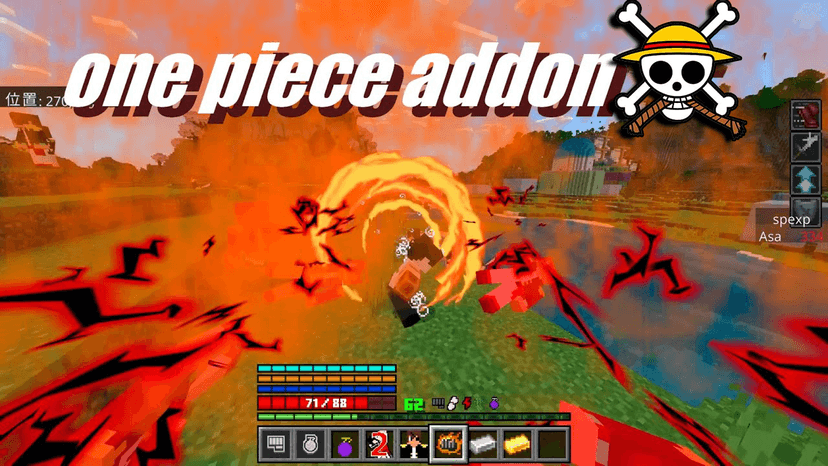
Addon Asa's One Piece (1.21, 1.20) – MCPE/Bedrock Mod modallMods for MinecraftMinecraft
Prepare for an exciting adventure in MCPE with the stunning fashion of One Piece Opa Asa! Addon Asa'...3.3K02
Ellie Mod (1.12.2) - Sweet girlfriend1.12.2MobsMinecraft
Ellie Mod mod adds a cute mob named Ellie to the game.1.7K02
Variant chest mod - from craft to aesthetics1.20.2DecorMinecraft
In the world of Minecraft, where creativity knows no boundaries, Variant Chests Mod fashion has appe...901
True Herobrine Mod (1.20.1) - truly terrifying1.20.1Mods for MinecraftMinecraft
True Herobrine Mod (1.20.1) adds Herobrine in a non-destructive way. The goal of this mod is to make...11001
Better Clouds addon1.21.7Mods for MinecraftMinecraft
Download the Better Clouds add-on for Minecraft to change the standard clouds in the game. Use this...201
Super powers1.20.30MagicMinecraft
Use amazing abilities from the cartoon, such as Racengan and Fireball. You will be able to demonstra...1301
Lag Removal Mod (1.19.1) - optimizes latency in the game1.19.1OptimizationMinecraft
The Lag Removal Mod Mod (1.19.1) gives players the ability to control the number of entities present...2301
Mythic Botany Mod 1.19.2 - Dive deeper into the world of Botany!1.19.2Mods for MinecraftMinecraft
Mythic Botany Mod is an add-on to Botania Mod that tries to extend Botania a bit....501
Randomite Classic addon1.21.3Mods for MinecraftMinecraft
Minecraft's Randomite Classic add-on adds unique ore to the cubic world that can fall from other res...201
Lodestone Mod (1.19.2) - library for Lodestar team projects1.19.2Mods for MinecraftMinecraft
Lodestone Mod (1.19.2) is a library used by all Lodestar team mods and contains important internal c...301
Windchimes Mod - wind chimes that swing in front of the house1.20.1DecorMinecraft
Windchimes Mod (1.20.1, 1.19.4) brings wind sounds to your world. Have you ever waited for peace in...301
Comfort Zone Mod - pillows for cats and Steve1.20.1DecorMinecraft
The Comfort Zone (1.20, 1.19.2) mode introduces a new set of benefits. At the same time, if the play...1801